


Guides
From your first video to your first export, one step at a time.
-
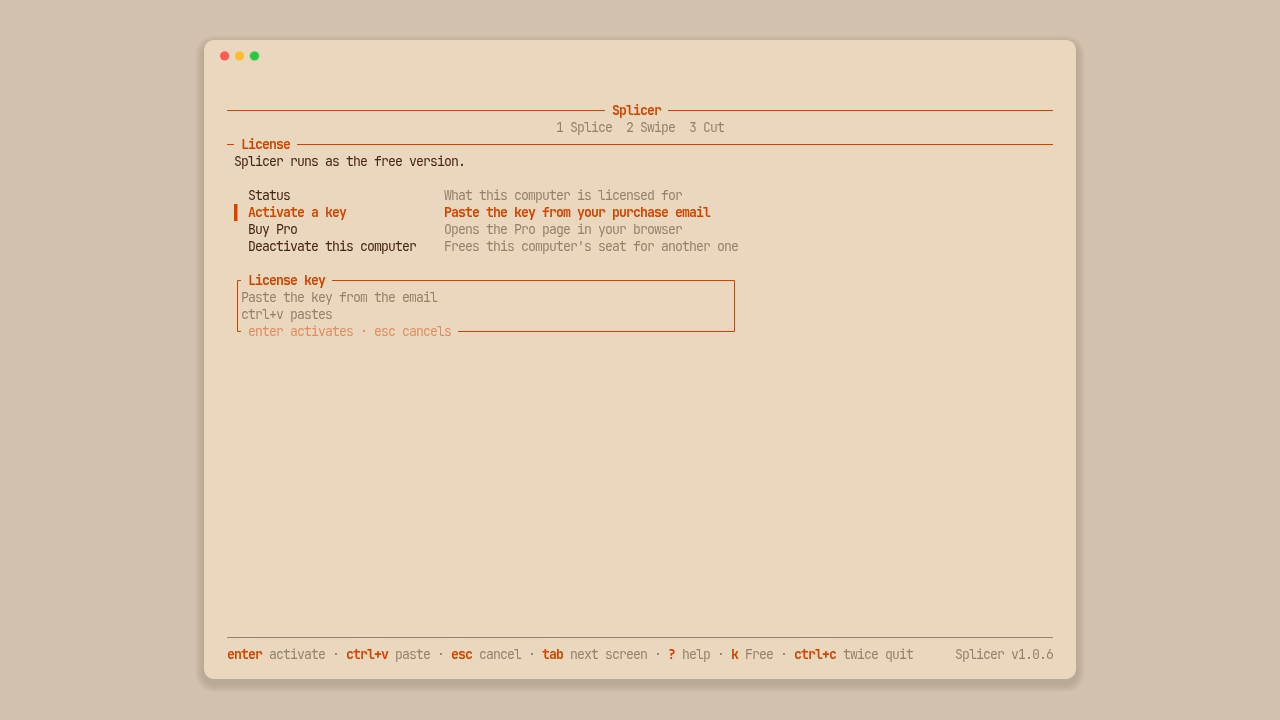 01
Get started
Install Splicer on a Mac, Windows or Linux, put the splicer command in your terminal, know what it opens on its own, and enter your Pro key when you have one.
3 min read
-
 02
Your first cut
Open a recording, keep and drop its clips with two arrow keys, put the cut in order, watch it end to end and export it.
3 min read
-
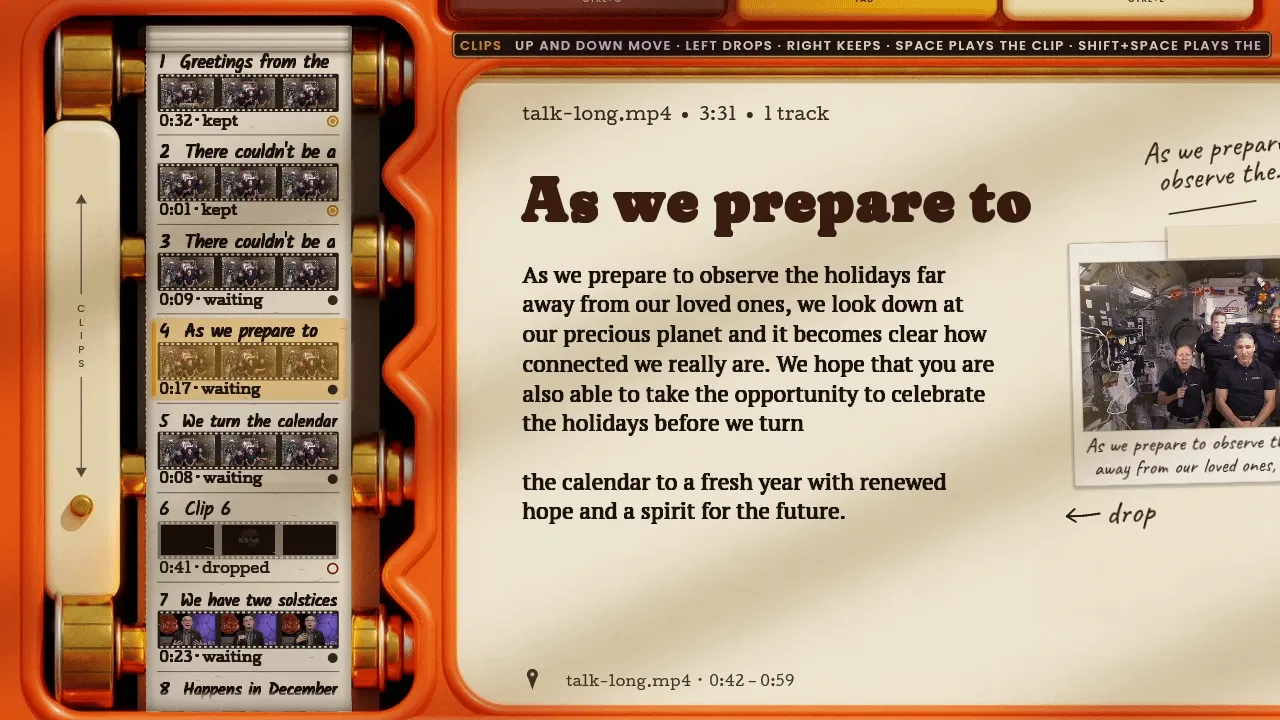 03
Silences, ums and restarts
See what Splicer drops for you, pick the take that worked, and bring anything back.
2 min read
-
 04
Find what you said
Search the recording by a word you remember, keep the match without leaving the search box, and know what the words are for.
2 min read
-
 05
Several tracks, two languages
Cut a recording with a mic track and a desktop track from whichever one is talking, set each track's level, and let Splicer hear your English and your Spanish in the same file.
3 min read
-
 06
Export
Turn your cut into a file: as shot, wide or vertical for phones, the picture filled or framed, captions on or off, and the export running while you do something else.
4 min read
-
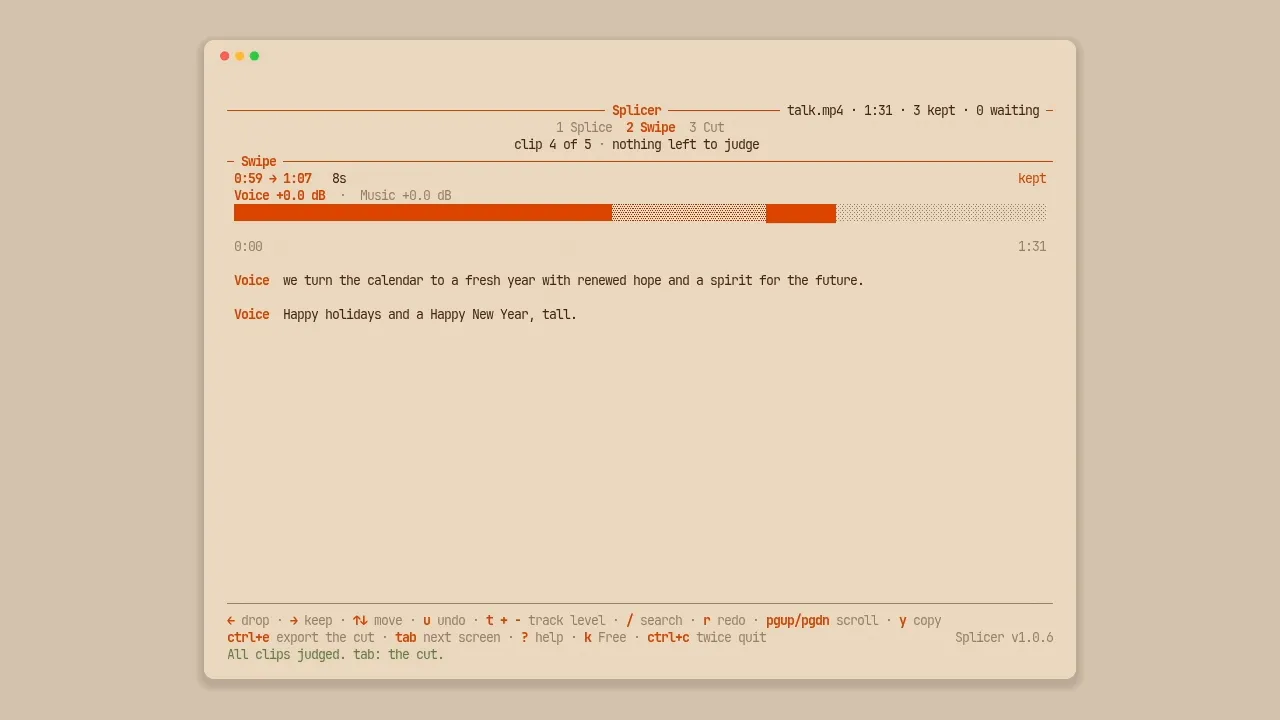 07
The terminal workspace
Open, keep, drop, search and export the same cut from a terminal with splicer tui, where the footer always tells you which keys work.
3 min read
-
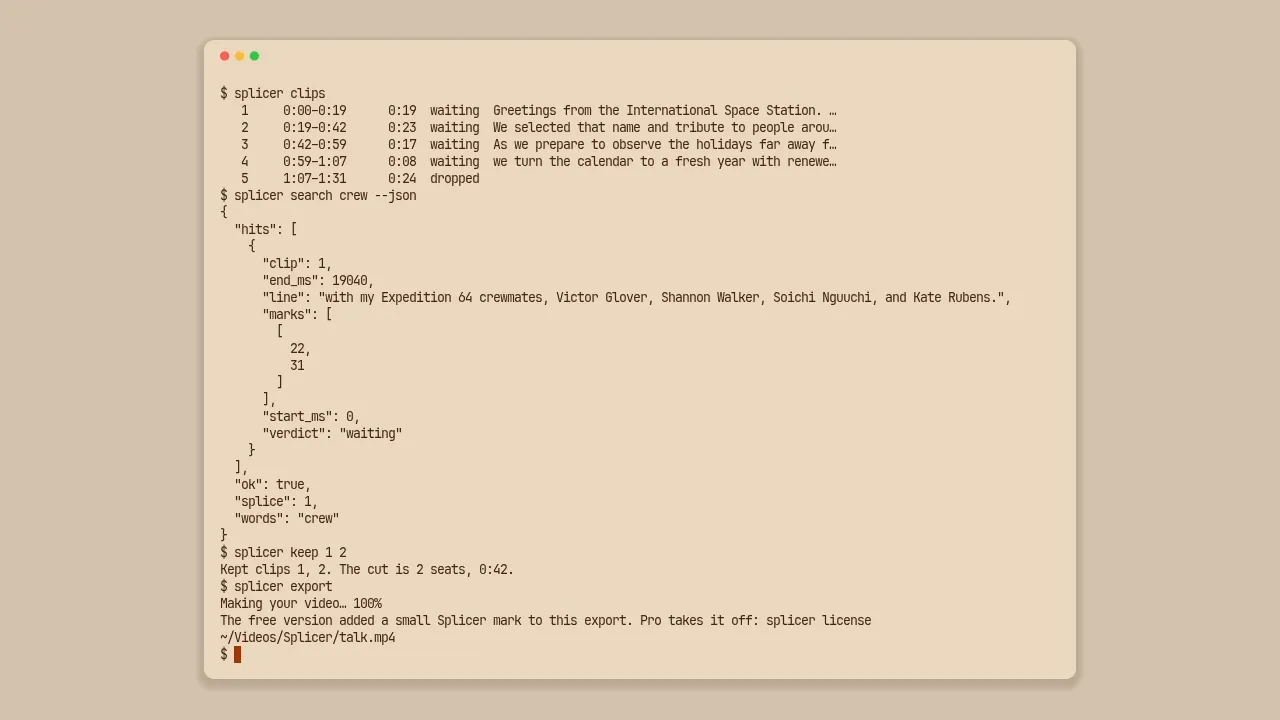 08
The command line
Run every Splicer operation as a command, open, list, search, keep, drop and export, in plain text or as JSON you can script against.
4 min read